In this article:
- Days 1–3: Tokyo, High-Tech and Heritage
- Day 4: Hakone Hot Springs and Mt. Fuji
- Days 5–7: The Imperial Soul of Kyoto
- Days 8–9: Osaka’s Neon and Nara’s Deer
- Day 10: Final Hours and Departure
- Smart Logistics for Your 10-Day Trip
- Planning Your 10-Day Itinerary: Frequently Asked Questions
Days 1–3: Tokyo, High-Tech and Heritage
Start in Tokyo, and give it three full days. The city is too large and too layered to rush, and beginning here lets you shake off the jet lag while easing into the country’s rhythms. Base yourself around Shinjuku or Tokyo Station for the easiest connections, and spread the three days across the city’s distinct moods.
Day 1: Arrival and Shinjuku
Land, drop your bags, and keep the first day gentle. Shinjuku is a good introduction — the sensory overload of its streets, a first proper meal, and, as evening comes, the free observation decks of the Metropolitan Government Building for a wide night view over the city. Do not over-plan a jet-lagged first day; a good dinner and an early night set you up for the rest.
Day 2: Asakusa, Harajuku, and Shibuya
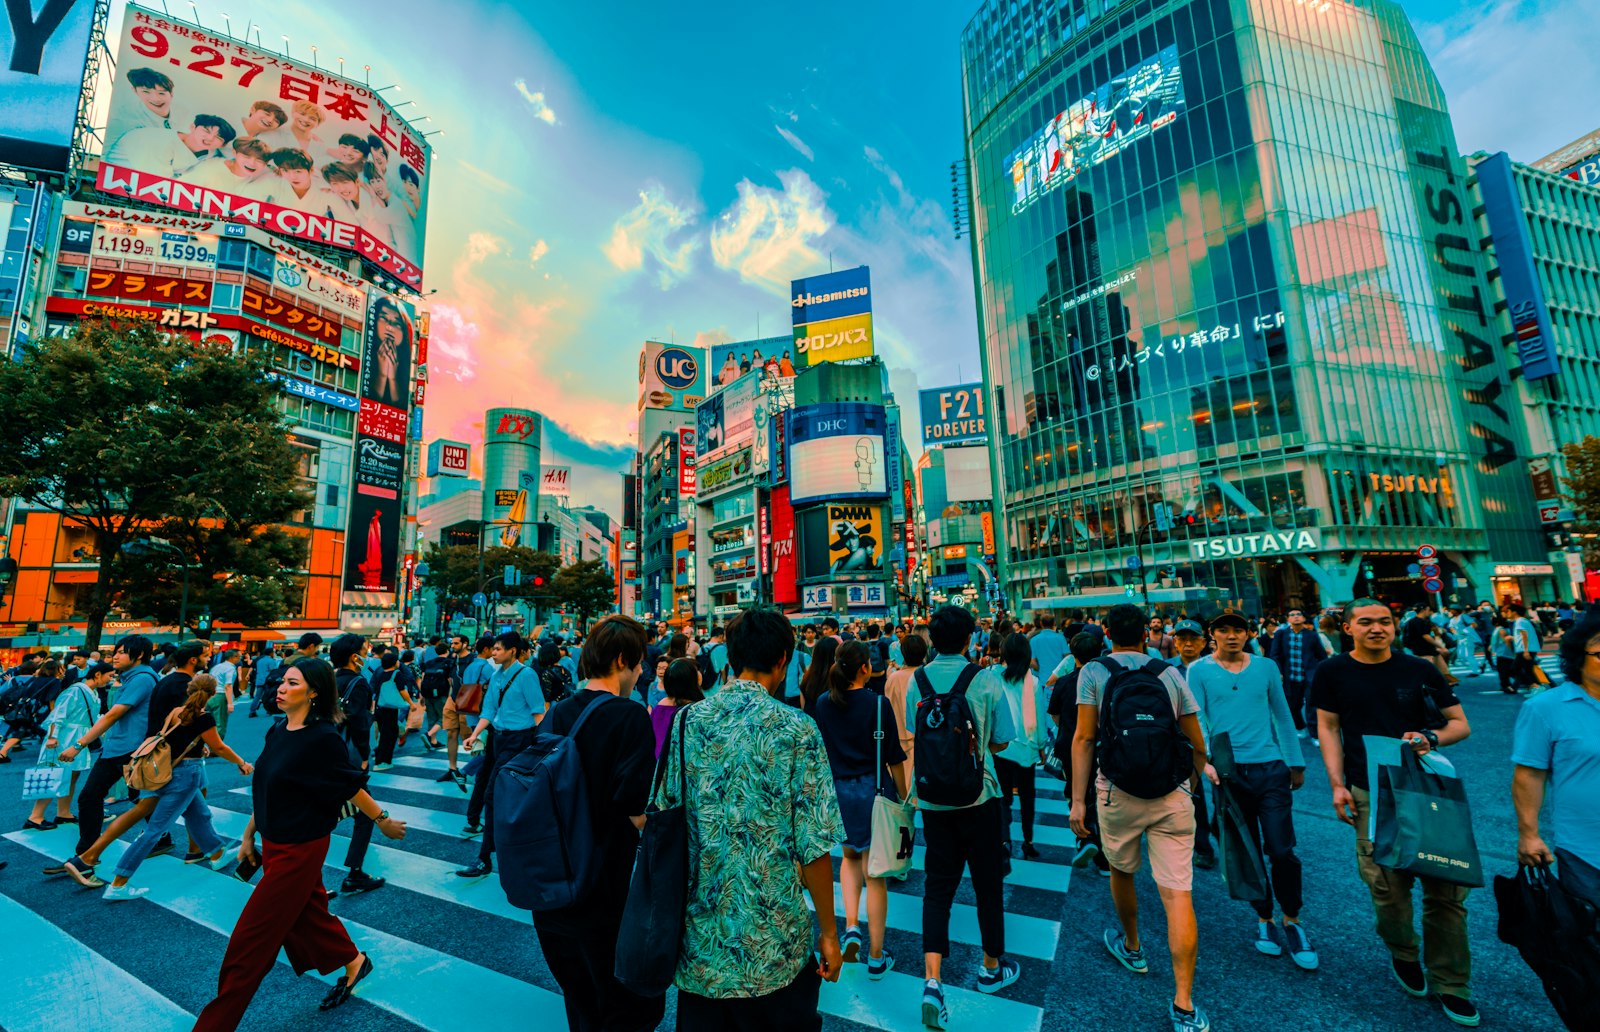
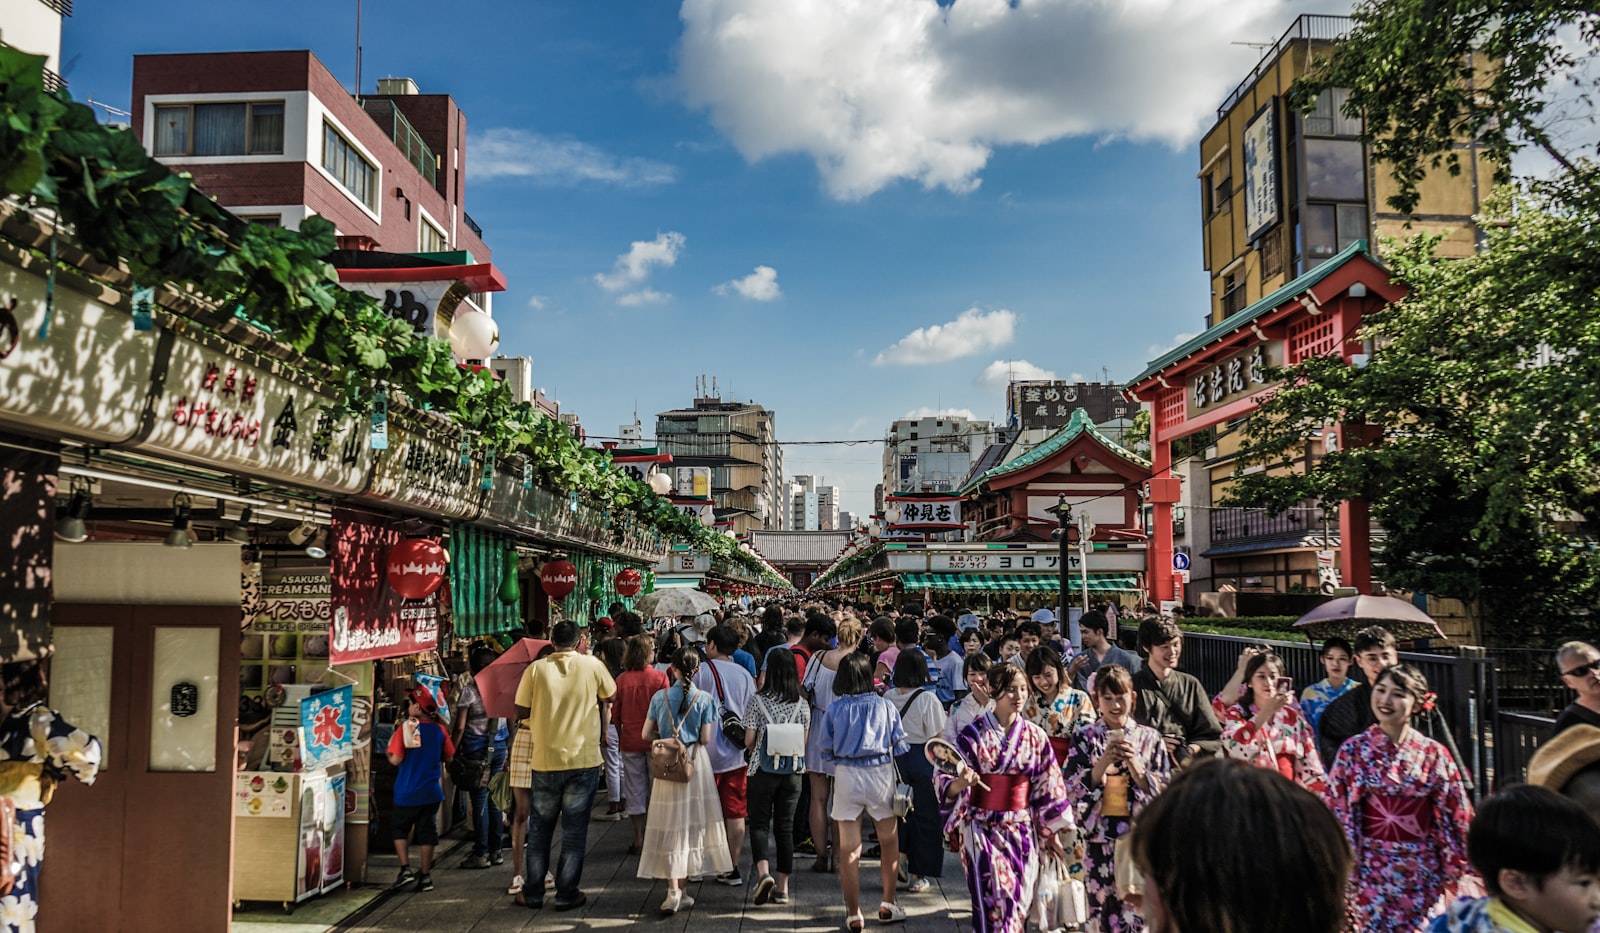
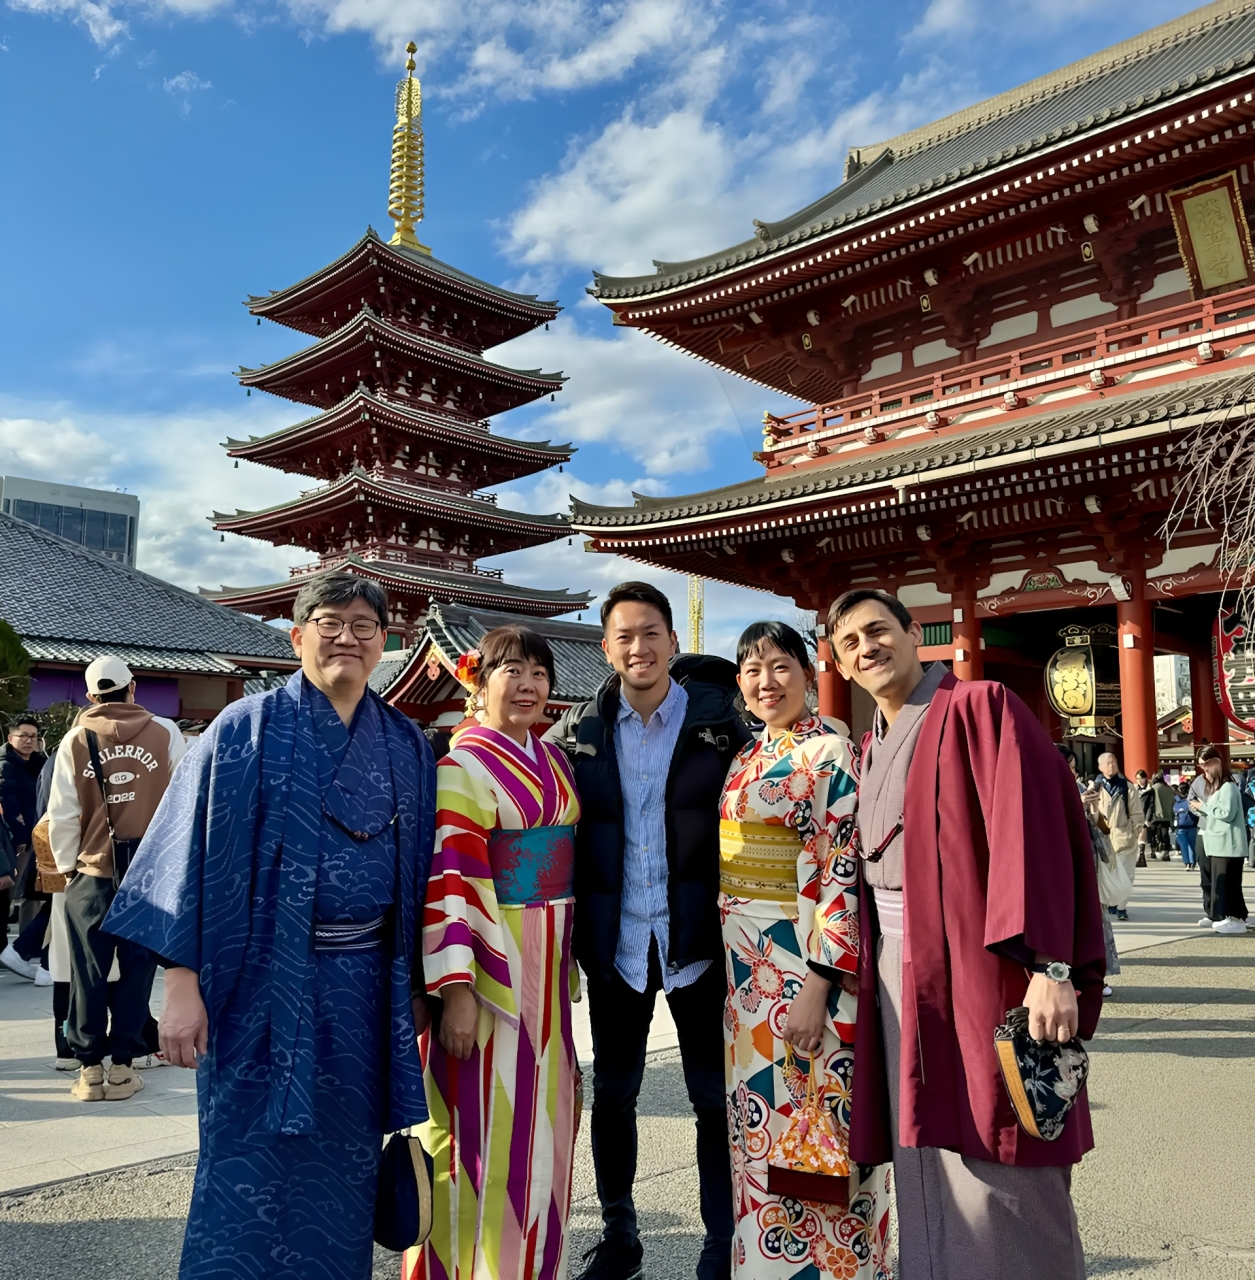
Give day two to contrasts. Start in old Asakusa at Senso-ji, the city’s oldest temple, in the quiet of early morning, then swing across town to the youth fashion of Harajuku and the crowds of the Shibuya Scramble Crossing by afternoon and dusk. It is a long day of walking that captures Tokyo’s range in a single arc — incense and temples in the morning, neon and crowds by night.
Day 3: Digital Art and Ginza
Spend the third day on modern Tokyo. Book ahead for teamLab’s immersive digital art museum, an hour or two lost in rooms of light and mirrors, then finish in Ginza for the city’s most polished shopping and a sushi dinner. This is also a natural day to fold in anything you missed — a market, a garden, a neighbourhood that caught your eye.
Day 4: Hakone Hot Springs and Mt. Fuji
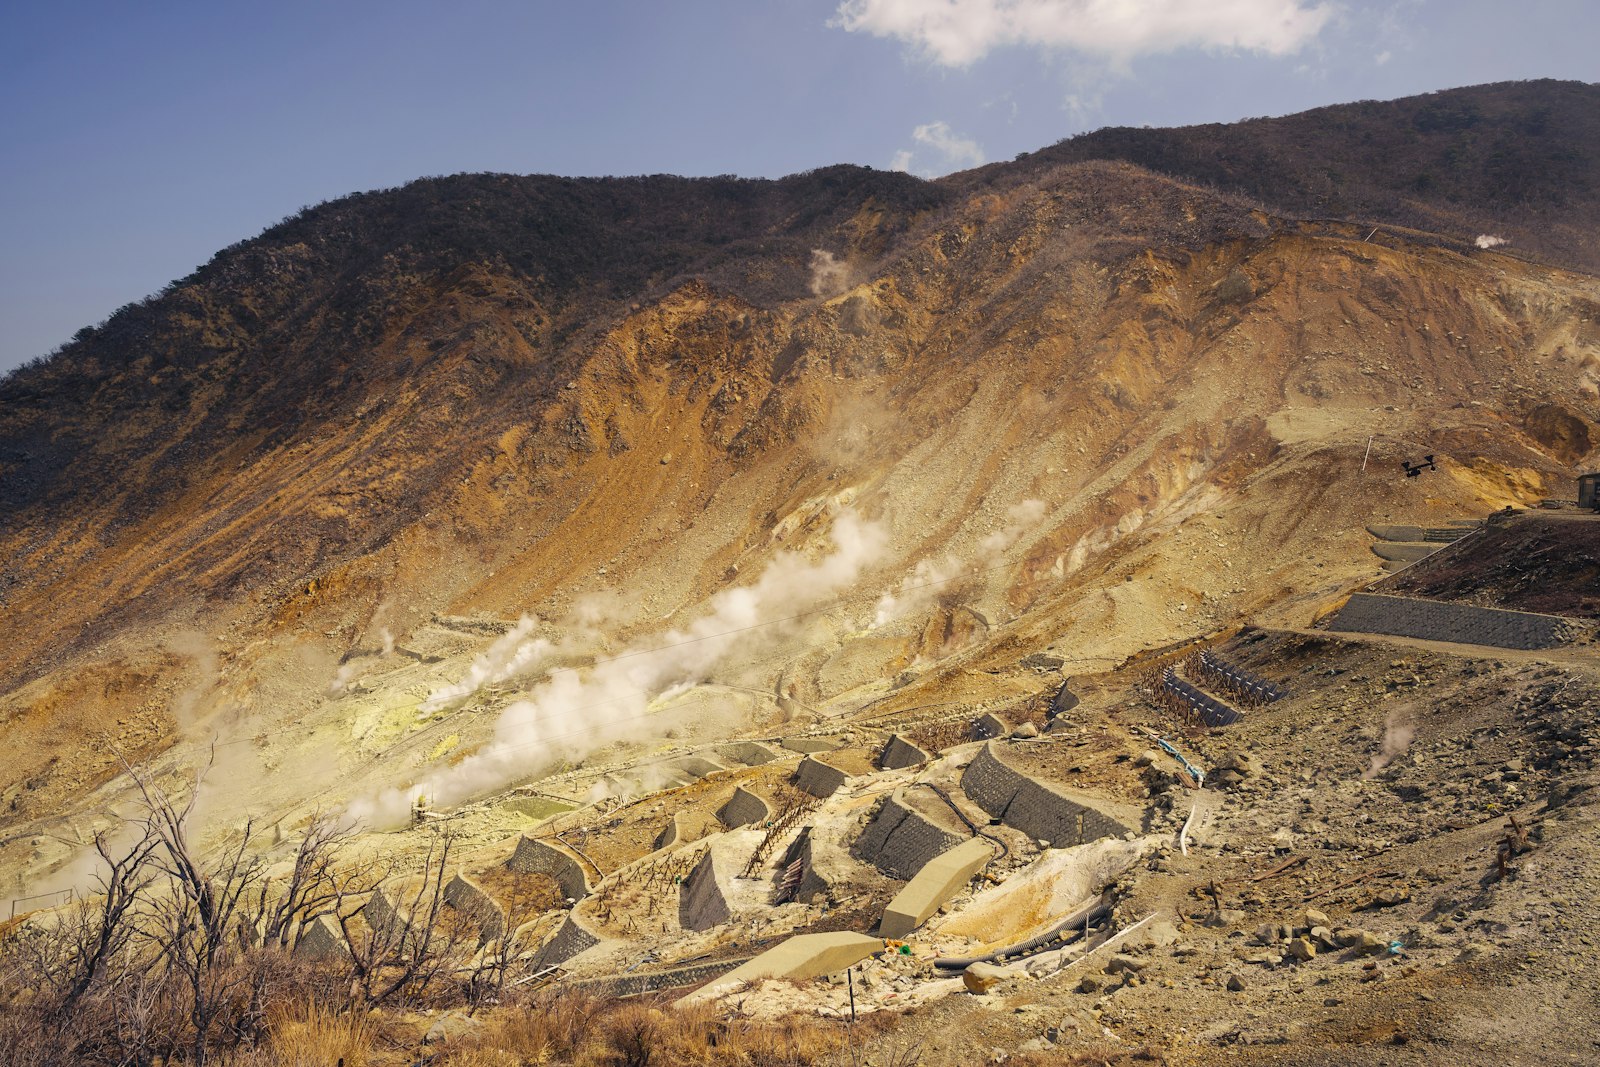
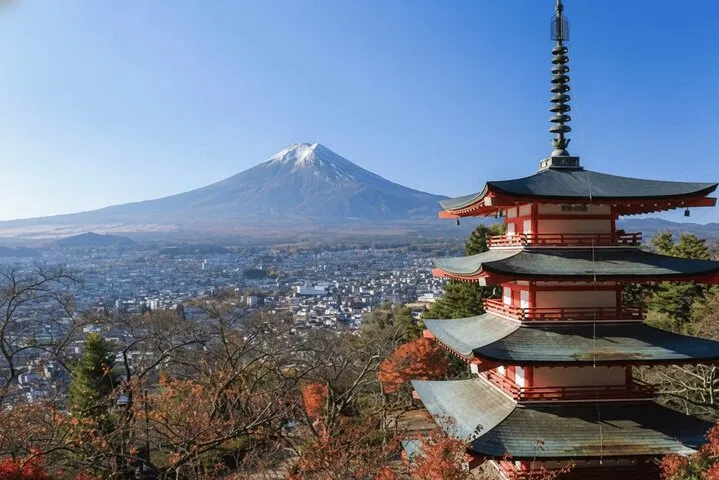
Break the city with a day in the mountains. Hakone, under two hours from Tokyo, offers hot springs, a volcanic valley, a caldera lake, and — on a clear day — Mount Fuji, all on a circular sightseeing loop. Ideally, stay the night at a ryokan here rather than returning to Tokyo, turning the fourth day into the restful centre of the trip.
A Night in a Ryokan
Booking a ryokan with a private or public onsen and a kaiseki dinner is the single best upgrade to a standard first-timer’s route. You soak in mineral water with a mountain view, sleep on futon on tatami, and eat a multi-course dinner of seasonal dishes served in your room. It is the trip’s most distinctly Japanese night, and Hakone is the most convenient place on this route to have it.
Days 5–7: The Imperial Soul of Kyoto
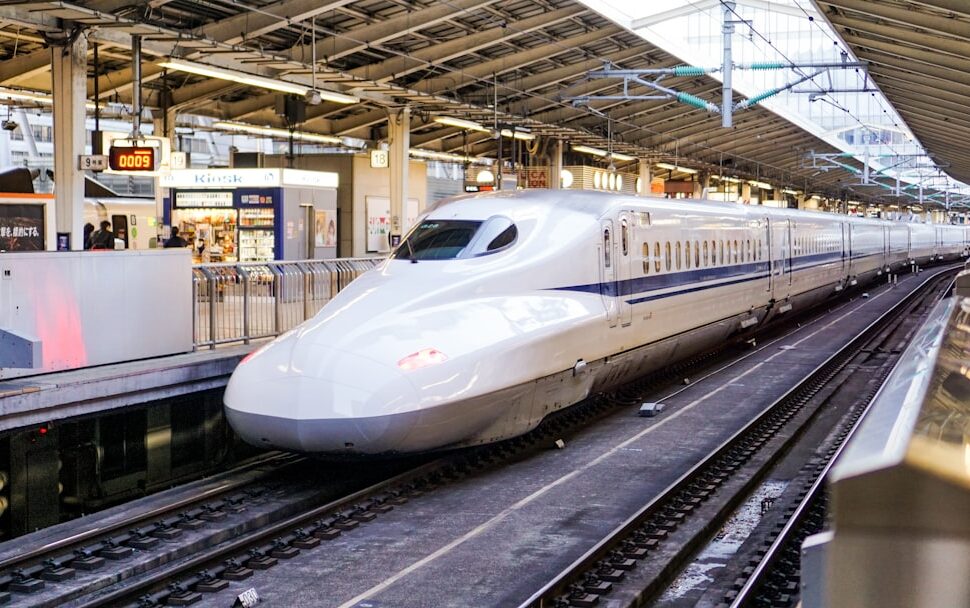
From Hakone, take the bullet train west to Kyoto, the old imperial capital and the cultural heart of the country. Three days is the right amount — enough to see the essential temples and gardens without the exhaustion that comes from trying to tick off all two thousand of them.
Day 5: Fushimi Inari and Gion
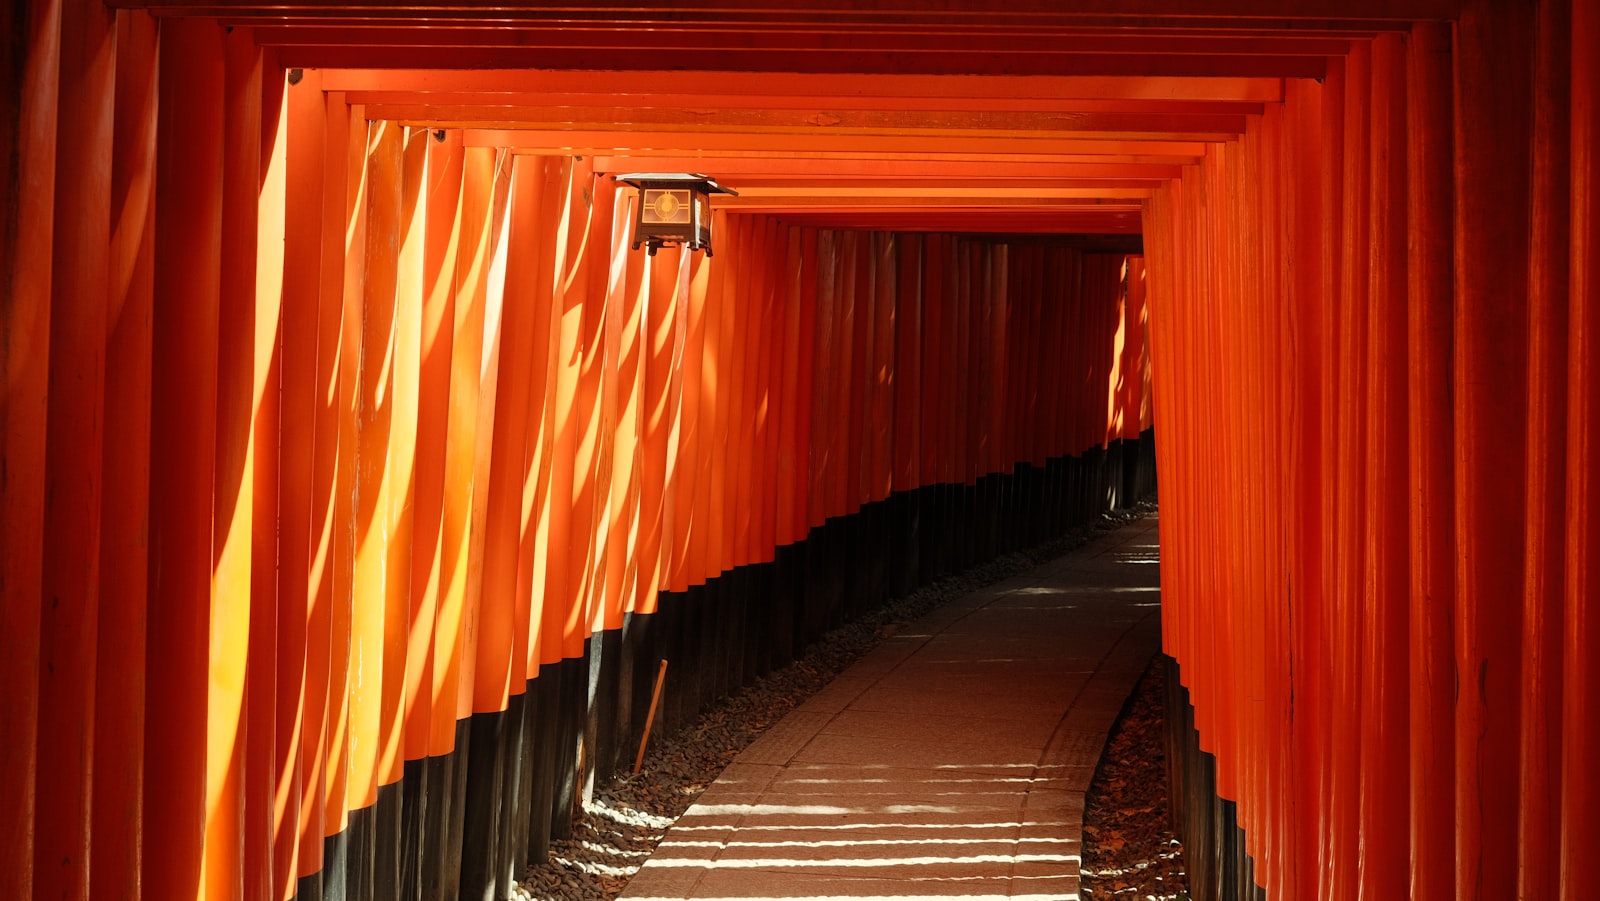
Arrive and head straight for Fushimi Inari, whose thousands of vermilion torii gates climb a forested mountain — go late in the afternoon or early morning to walk the upper paths in near solitude. In the evening, wander the lantern-lit lanes of Gion, the geisha district, where you may glimpse a geiko or maiko hurrying to an appointment. Watch respectfully and keep your distance; these are working professionals, not a photo opportunity.
Day 6: Kinkaku-ji and Arashiyama
Devote day six to the northwest. The Golden Pavilion, Kinkaku-ji, is worth the crowds for the sight of its gold-leafed upper floors mirrored in the pond, and then it is on to Arashiyama for the towering bamboo grove and the temples and riverside beyond. Go to the bamboo early — by mid-morning it fills, and the quiet that makes it special is gone.
Day 7: Kiyomizu-dera and Tea Culture
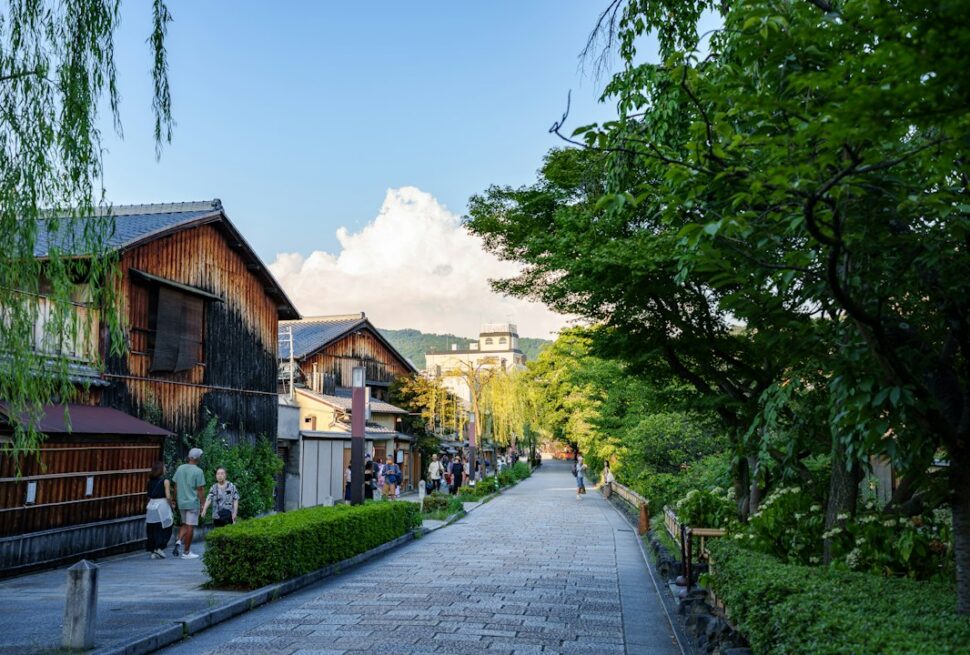
Spend the last Kyoto day in the eastern hills around Kiyomizu-dera, the great wooden temple on its hillside veranda, walking down through the preserved lanes of Higashiyama. This is the day to slow down for a traditional tea ceremony in a machiya townhouse, or to simply linger in a garden. Kyoto rewards unhurried time more than any city on the route.
Days 8–9: Osaka’s Neon and Nara’s Deer
Move on to Osaka, Japan’s brash, food-obsessed second city, using it as a base for the last stretch — with a half-day out to nearby Nara, the country’s first capital.
Day 8: Nara’s Deer and Great Buddha
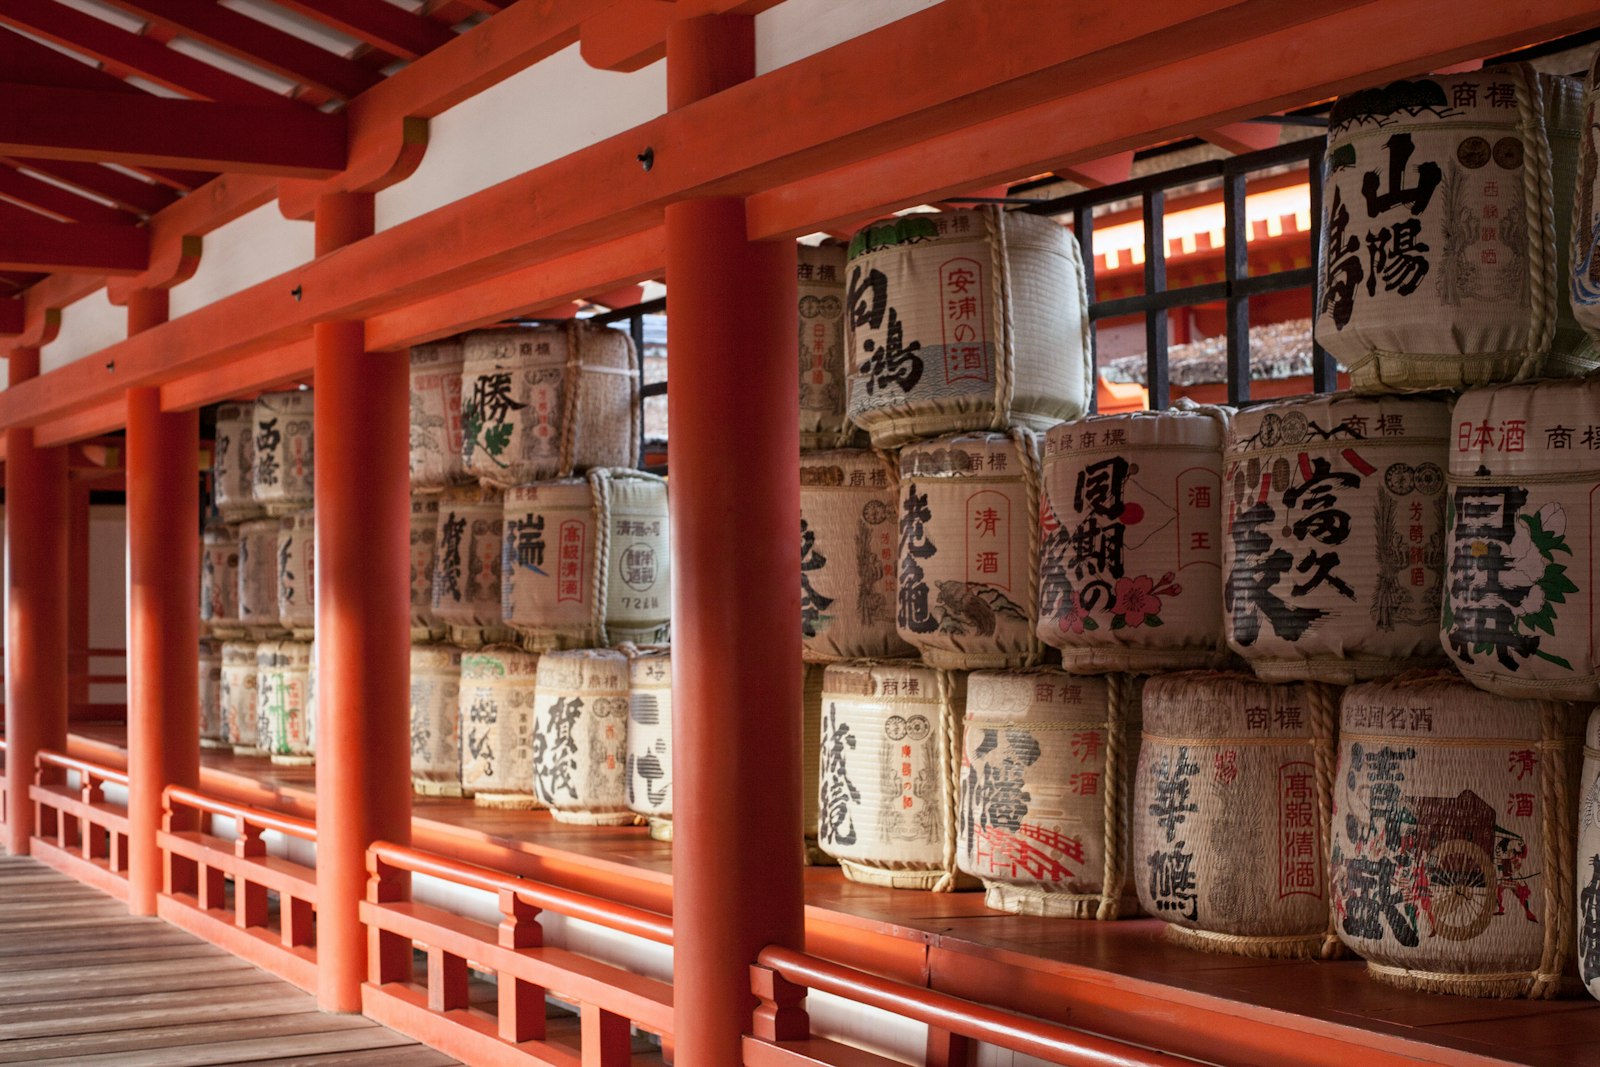
Take a morning train to Nara, where free-roaming deer bow for crackers in a vast park and the wooden hall of Todai-ji houses one of the largest bronze Buddhas in the world. It is an easy, delightful half-day. Return to Osaka in the afternoon and shift gears entirely for the evening.
Day 9: Dotonbori and Osaka Castle
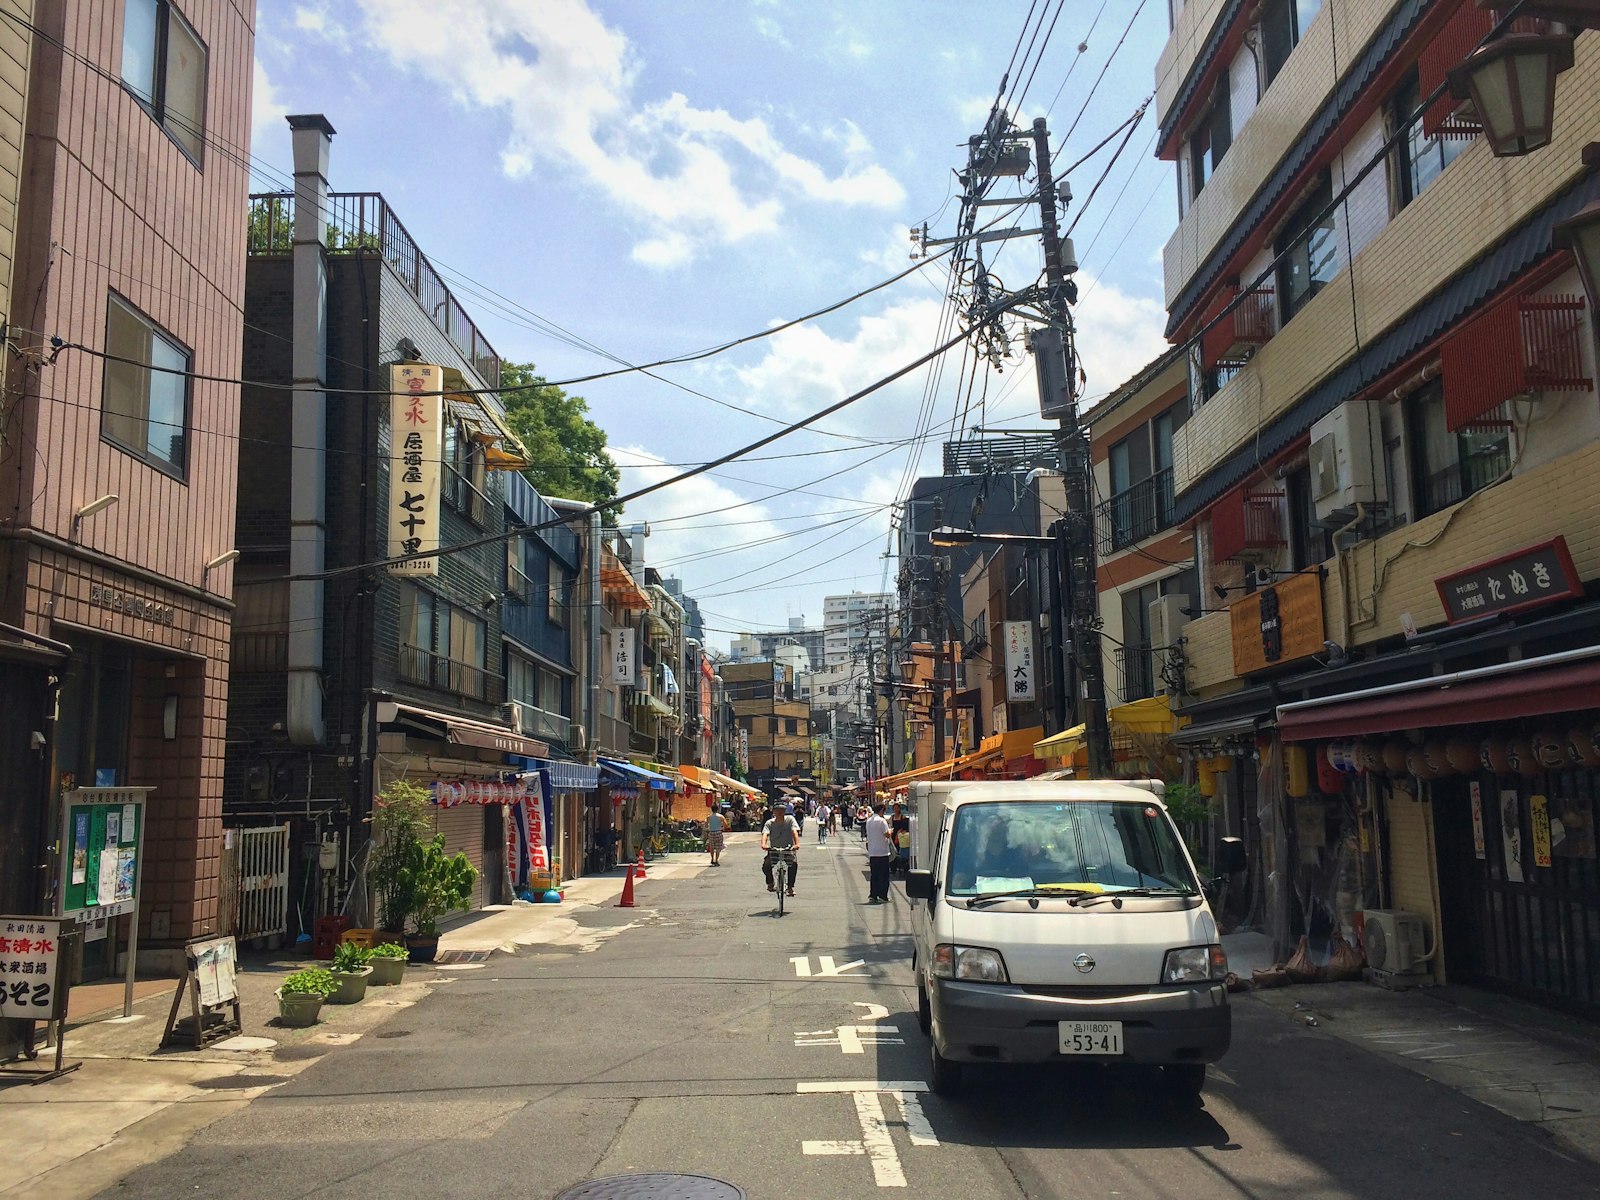
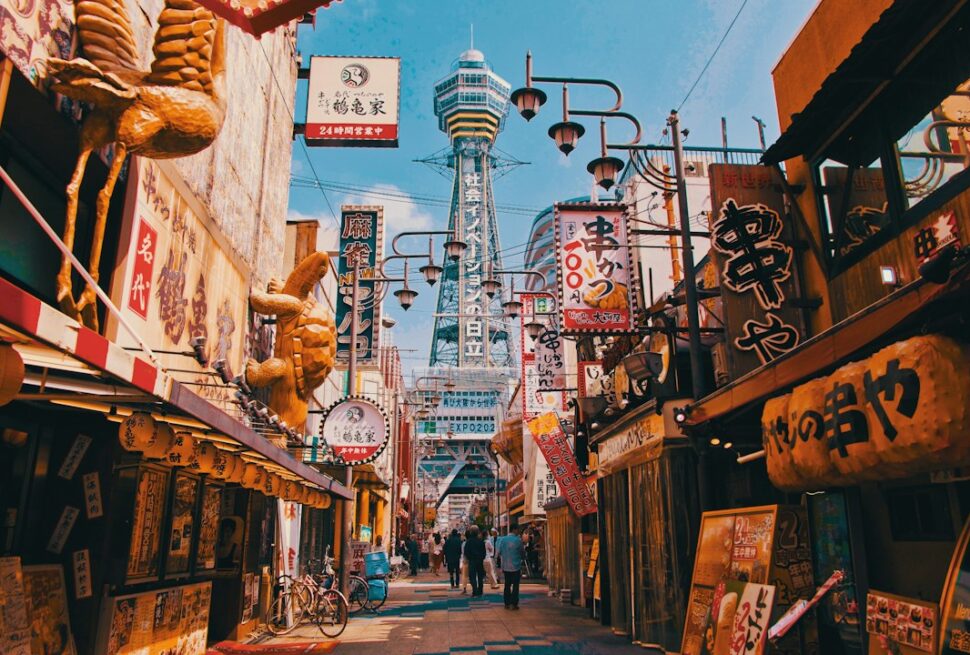
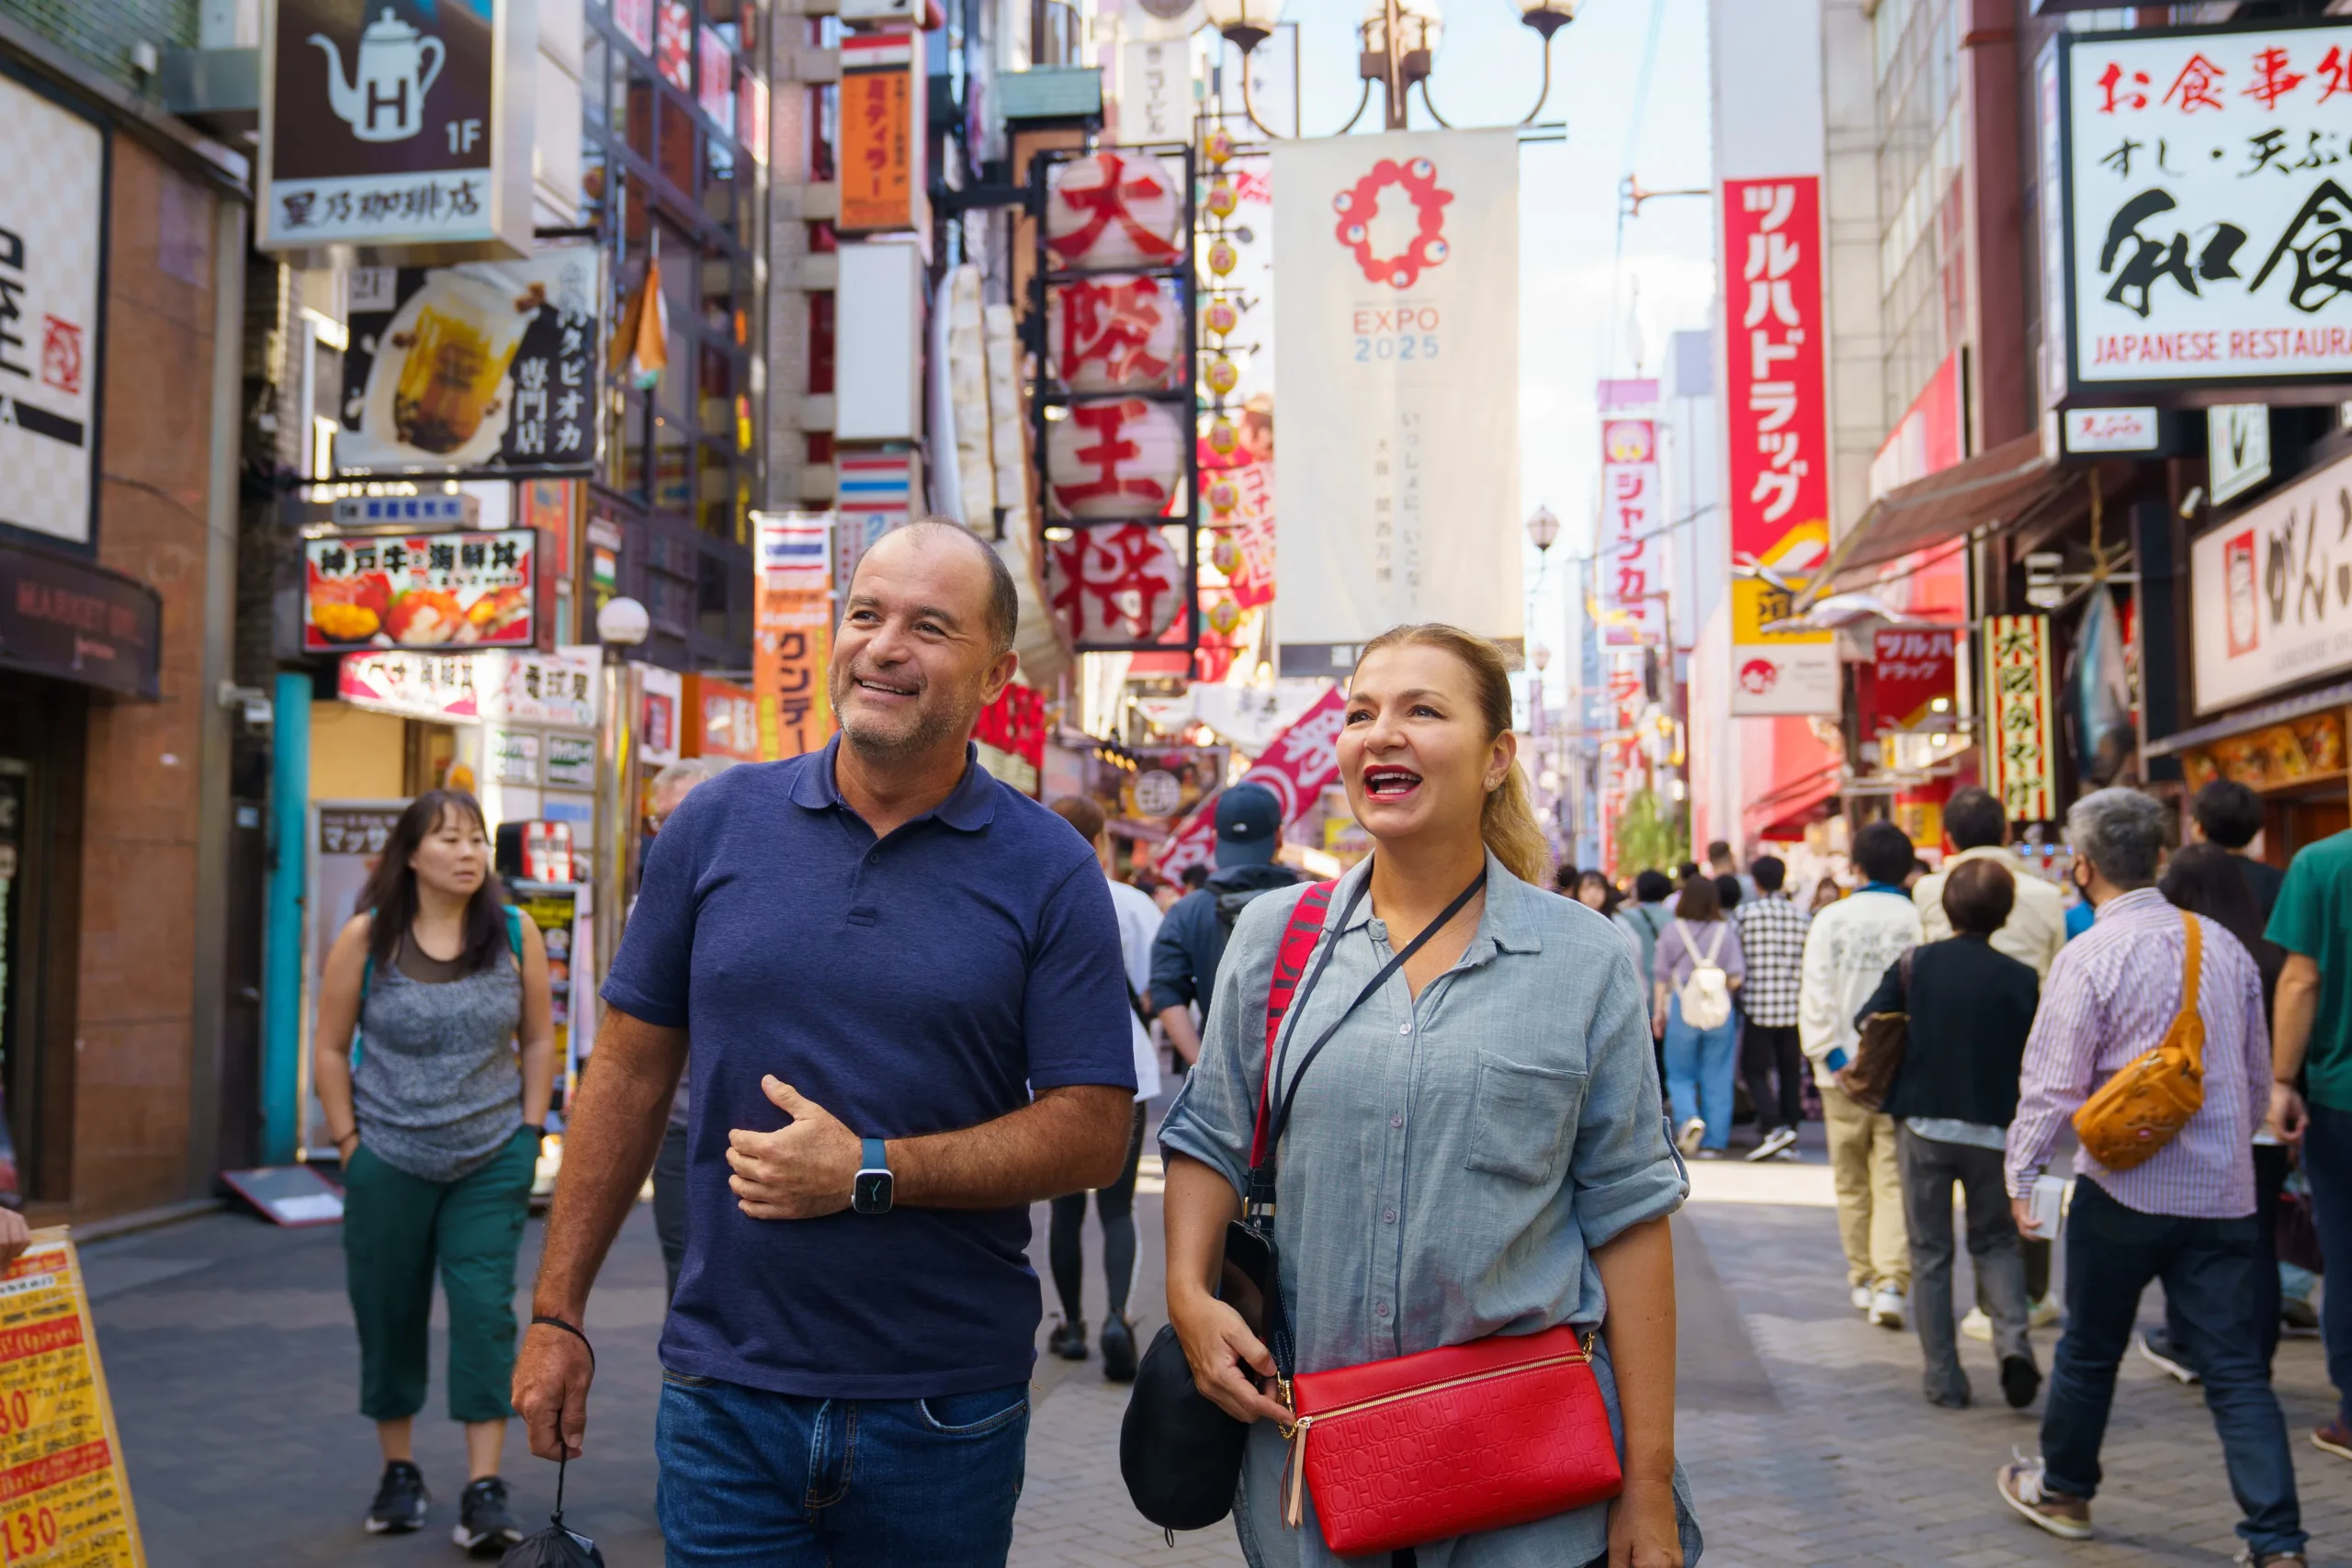
Give Osaka a full day. By day, tour the reconstructed Osaka Castle and its museum; by night, throw yourself into Dotonbori, the canal-side district of giant neon signs and street food — takoyaki, okonomiyaki, kushikatsu — that is the city’s beating heart. Osaka is where the trip loosens up and eats well. Lean into it.
Day 10: Final Hours and Departure
The last day depends on your flight, but a little planning keeps it from being wasted on logistics. Whether you fly out of Kansai or loop back to Tokyo, handle your luggage and timing the day before so the morning stays yours.
Making the Most of the Morning
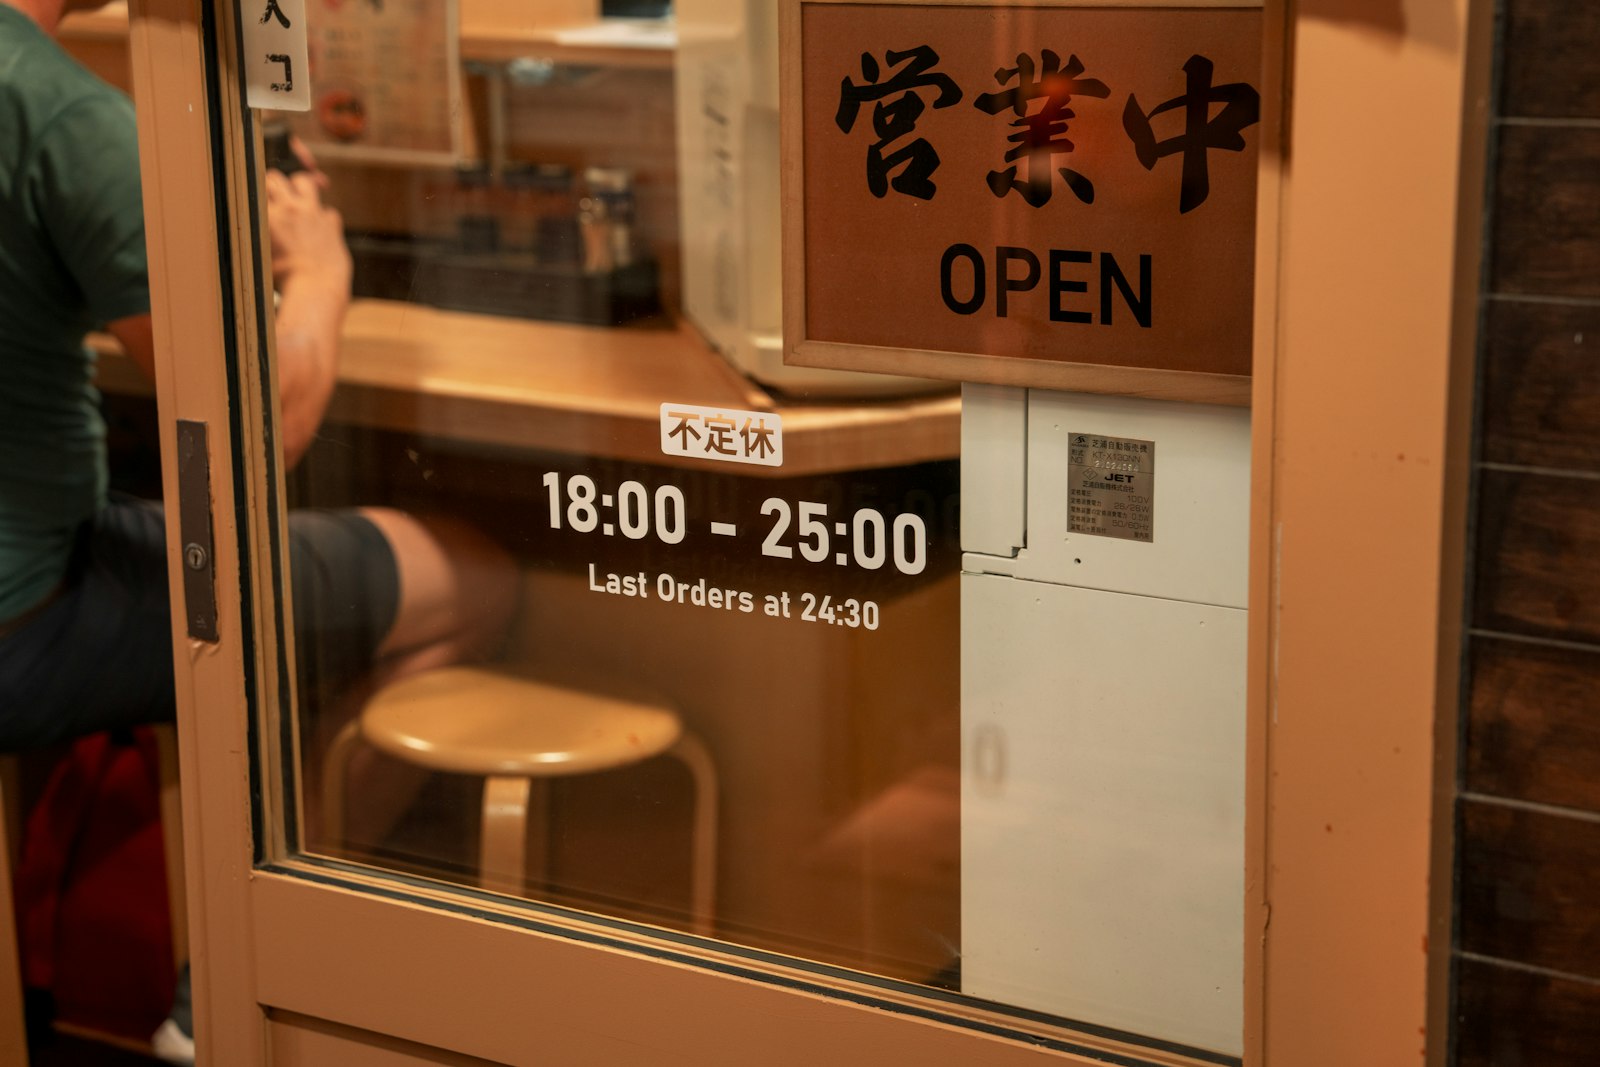
Use luggage forwarding to send your bags ahead to the airport or your final hotel, so you spend the last morning hands-free rather than dragging suitcases. Fit in a final market, a last bowl of ramen, or a souvenir sweep, then take the airport express in good time. A calm, unrushed departure is a better memory to leave on than a frantic dash.
Smart Logistics for Your 10-Day Trip
The difference between a smooth first trip and a stressful one usually comes down to a few logistical choices made in advance. Get these right and the itinerary above runs itself.
Luggage Forwarding (Takkyubin)
Japan’s takkyubin luggage-forwarding service is a first-timer’s secret weapon. For a modest fee, hotels will send your suitcase ahead to your next city, usually overnight, so you travel between Tokyo, Hakone, and Kyoto with only a small overnight bag rather than wrestling large cases onto bullet trains and up station stairs. Use it for the Hakone leg especially, where you only need one night’s things.
Trains: Passes vs. Individual Tickets
Since recent price rises, the nationwide Japan Rail Pass no longer pays off for every trip — for a Tokyo–Kyoto–Osaka route with side trips, it is worth doing the maths against individual bullet-train tickets, and regional passes often win. Load a Suica or Pasmo IC card onto your phone for all the local subways and buses; it saves buying tickets at every gate. Decide on the rail question before you arrive, not at the station.
Expert Tip
The most common first-timer mistake is trying to add more cities to a 10-day trip — squeezing in Hiroshima or Kanazawa and ending up exhausted, having seen everything and experienced nothing. Resist it. This route already covers the essential range of Japan, and the margin you save by not over-packing the schedule is what leaves room for the unplanned meal, the temple you lingered at, the neighbourhood you stumbled into. Depth beats breadth every time on a first visit.
Related Tours
Planning Your 10-Day Itinerary: Frequently Asked Questions (Q&A)
Is 10 days enough to see Tokyo, Kyoto, and Osaka without rushing? Yes, comfortably, if you resist adding more. Ten days lets you give Tokyo three days, Kyoto three, and Osaka and its surroundings the rest, with Hakone in between — a full but humane pace. The trips that feel rushed are the ones that try to bolt on a fourth or fifth city. Keep to this core and you will see a great deal without burning out.
Should I get a Suica or Pasmo card for local transport? Get one, and the choice between Suica and Pasmo barely matters — they work interchangeably across the country’s subways, buses, and convenience stores. Better still, add one to your smartphone’s wallet so you can top it up digitally and tap through without a physical card. It is the single most convenient thing you can set up for daily travel.
Should I rent pocket Wi-Fi or use a travel eSIM? For most solo travellers and couples, a travel eSIM is simpler — you install it before you fly and have data the moment you land, with nothing to rent or return. Pocket Wi-Fi still makes sense for families or groups sharing one connection across several phones. Either way, arrange connectivity before departure rather than hunting for it at the airport.
Conclusion
This ten-day route works because it is balanced rather than complete — Tokyo’s energy, Hakone’s calm, Kyoto’s depth, and Osaka’s appetite, in a sequence that builds and eases at the right moments. It gives a first-time visitor the true range of Japan without the exhaustion of trying to see all of it.
Plan Your Japan Trip with Local Experts
Our team has guided 40,000+ travelers across Japan. Tell us about your trip and we’ll get back to you within 24 hours.